Why James Hardie Siding Is a Top Exterior Choice
Homeowners across the country increasingly choose James Hardie Siding because it offers exceptional durability, weather resistance, and long-term exterior performance. Exterior siding plays a critical role in protecting residential structures from moisture, temperature fluctuations, sunlight exposure, and environmental wear. James Hardie fiber cement products have become one of the most trusted siding solutions in modern exterior remodeling because they combine structural resilience with sophisticated curb appeal.
Modern homeowners want exterior materials capable of withstanding demanding climate conditions while maintaining a clean and attractive appearance for many years. James Hardie siding systems are engineered specifically to address these concerns, making them highly popular for both full exterior renovations and new home construction projects.
What Makes James Hardie Siding Different?
James Hardie siding is manufactured using fiber cement technology that combines cement, sand, cellulose fibers, and specialized additives to create strong and weather-resistant exterior panels.
Key advantages of James Hardie siding include:
- Exceptional durability and impact resistance
- Strong moisture protection
- Resistance to rot and pests
- Non-combustible material composition
- Long-lasting color performance
- Modern architectural design flexibility
These features help homeowners protect their property while improving long-term exterior aesthetics and structural performance.
The Benefits of Fiber Cement Siding
Superior Weather Resistance
Exterior materials are constantly exposed to harsh environmental conditions including rain, snow, heat, humidity, and UV radiation. James Hardie siding is engineered to withstand these elements more effectively than many traditional siding materials.
Fiber cement siding helps resist:
- Warping and cracking
- Moisture absorption
- Expansion and contraction
- Wind-related damage
- Surface deterioration
This long-term durability helps reduce maintenance concerns while preserving exterior integrity.
Resistance to Rot and Pests
Unlike some wood-based materials, fiber cement siding is highly resistant to termites, wood rot, and insect-related damage.
Homeowners benefit from:
- Reduced repair costs
- Longer material lifespan
- Improved structural reliability
- Lower long-term maintenance requirements
These advantages make fiber cement siding especially attractive for long-term home protection.
Fire Resistance
Fiber cement siding is non-combustible, providing additional protection compared to some traditional exterior cladding materials.
This fire-resistant performance offers homeowners greater peace of mind while contributing to overall exterior safety.
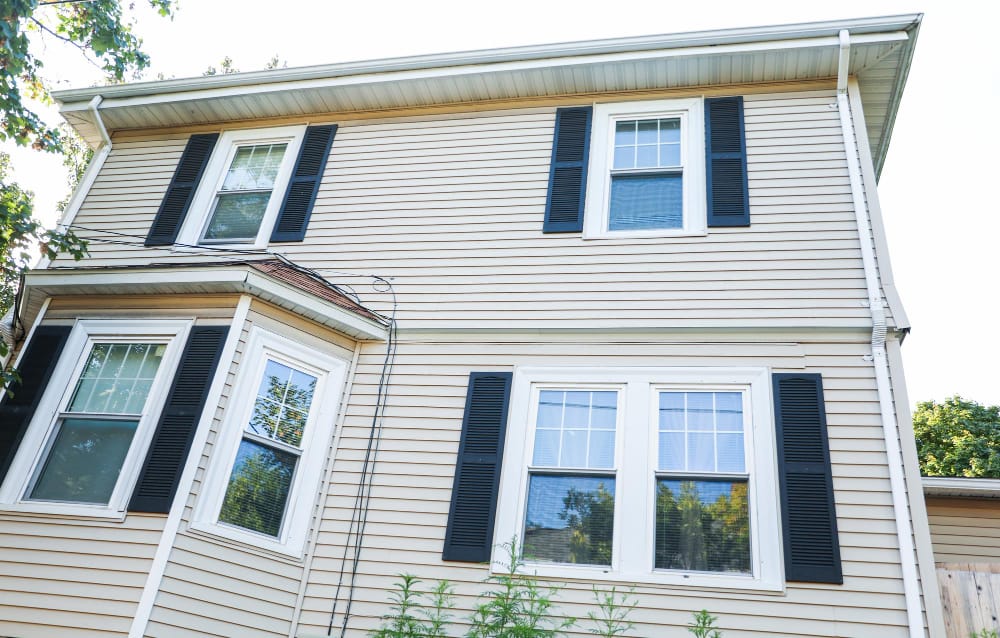
How James Hardie Fiber Cement Siding Improves Curb Appeal
Professionally installed James Hardie fiber cement siding significantly improves the visual appearance of residential properties through clean lines, durable finishes, and versatile architectural styles.
Modern Architectural Styles
James Hardie siding products are available in a wide range of profiles and textures designed to complement many home styles including:
- Modern contemporary homes
- Traditional residential architecture
- Farmhouse-inspired exteriors
- Craftsman-style homes
- Transitional architectural designs
This versatility allows homeowners to create customized exterior designs tailored to their aesthetic preferences.
Long-Lasting Color Technology
Many James Hardie siding products feature advanced baked-on color systems engineered to resist fading caused by sunlight exposure and environmental conditions.
Long-lasting finishes help preserve:
- Exterior vibrancy
- Consistent curb appeal
- Reduced repainting needs
- Long-term property appearance
Durable color performance contributes to lower maintenance requirements over time.
Popular Exterior Design Trends Featuring James Hardie Siding
Mixed Material Exteriors
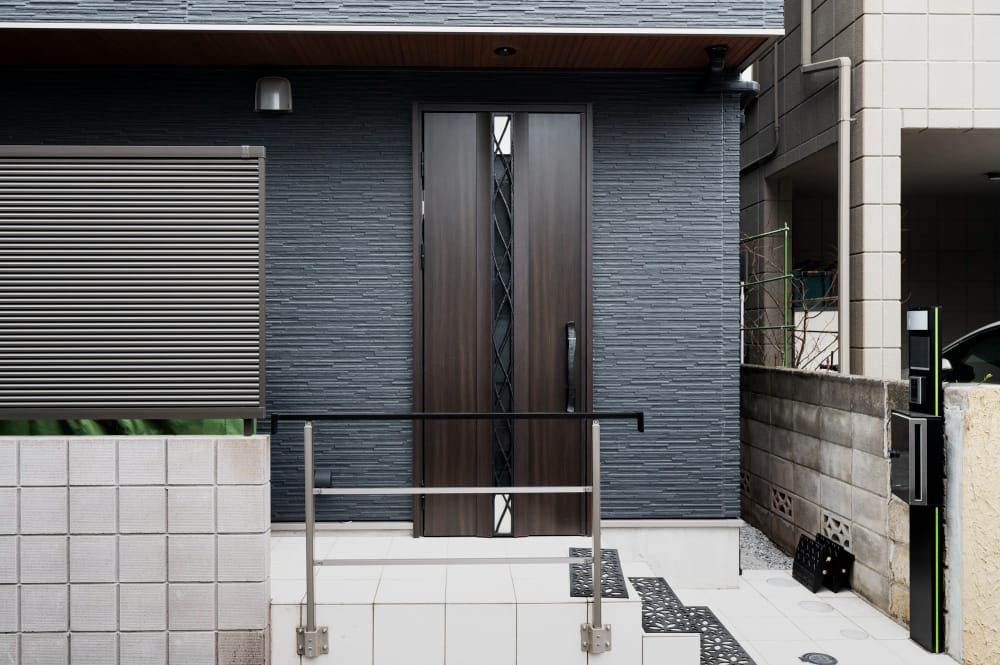
Modern homes increasingly combine fiber cement siding with stone, wood accents, metal trim, and architectural panels to create greater visual depth and texture.
Popular combinations may include:
- Fiber cement with natural stone veneers
- Horizontal siding with vertical board accents
- Contemporary black window framing
- Wood-inspired soffit details
These combinations create sophisticated and highly customized exterior designs.
Modern Neutral Color Palettes
Homeowners increasingly favor neutral exterior color schemes such as:
- Soft white siding
- Warm gray finishes
- Charcoal accent colors
- Natural beige tones
- Black architectural trim
These modern color combinations provide timeless curb appeal while complementing a wide range of landscaping and architectural features.
How Exterior Siding Improves Energy Efficiency
Modern siding systems contribute to better home insulation and reduced energy loss when combined with proper weather barriers and exterior insulation systems.
Exterior remodeling projects involving new siding may improve:
- Thermal insulation performance
- Indoor comfort
- Air sealing efficiency
- Reduced heating and cooling costs
Improved exterior protection helps create more energy-efficient and comfortable living environments.
The Importance of Professional Siding Installation
Fiber cement siding installation requires specialized tools, moisture barrier systems, flashing integration, and precise fastening techniques.
Professional installation teams ensure:
- Proper weatherproofing
- Accurate panel alignment
- Correct expansion spacing
- Moisture protection integration
- Long-term structural performance
Skilled craftsmanship helps maximize both durability and curb appeal throughout the siding system.
How James Hardie Exterior Siding Increases Property Value
Updated exterior siding strongly influences buyer perception and overall property appeal. Many buyers appreciate professionally installed James Hardie exterior siding because it signals long-term durability, lower maintenance requirements, and modern exterior design quality.
Exterior siding upgrades often improve:
- Home curb appeal
- Structural protection
- Energy efficiency
- Architectural sophistication
- Property resale value
These improvements help create homes that appear more modern, durable, and move-in ready.
Long-Term Benefits of James Hardie Siding
James Hardie siding provides lasting value through superior durability, moisture resistance, fire protection, and architectural versatility. Its ability to withstand harsh weather conditions while maintaining long-term visual appeal makes it one of the most trusted exterior siding systems available today.
Whether used in full exterior renovations, modern custom homes, or energy-efficient remodeling projects, fiber cement siding helps homeowners create stronger, safer, and more visually refined properties.
With professional installation, quality materials, and thoughtful exterior design planning, James Hardie siding continues to be one of the smartest long-term investments for residential exterior remodeling.